The glass hair trend has taken the beauty world by storm, and for good reason. This sleek and ultra-shiny hairstyle, characterized by its smooth and reflective finish, exudes sophistication and modernity.
Achieving the perfect glass hair look may seem challenging, but with the right tools and techniques, any woman can rock this trendy style.
In this step-by-step tutorial, we’ll guide you through the process of creating glass hair that is sure to turn heads.

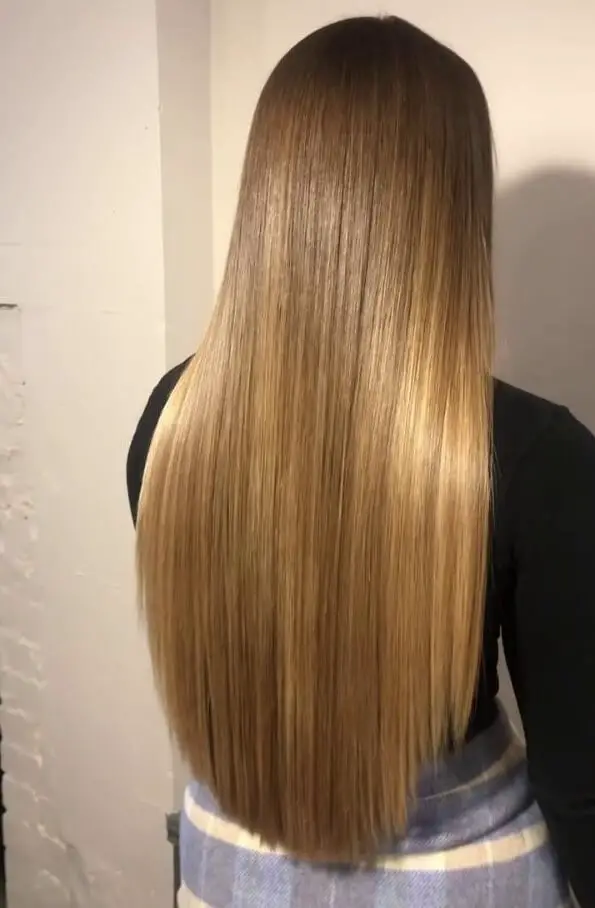
Photo: instagram.com/hairbyruslan
Step 1: Start with Healthy Hair
The foundation of any great hairstyle is healthy hair. Ensure your locks are well-moisturized and free from split ends. Consider a hydrating hair mask or deep conditioning treatment before starting the glass hair styling process. Healthy hair not only looks better but also holds the style more effectively.
Step 2: Shampoo and Condition
Begin by washing your hair with a high-quality, moisturizing shampoo and conditioner. Choose products specifically designed to add shine and smoothness to the hair. Make sure to rinse thoroughly to remove any product residue that might weigh down your hair.
Step 3: Towel Dry Gently
After washing, towel dry your hair gently to remove excess water. Avoid vigorous rubbing, as this can lead to frizz and damage. Instead, pat your hair dry with a soft towel to maintain its natural texture.
Step 4: Apply a Heat Protectant
Before using any heat styling tools, it’s crucial to protect your hair from potential damage. Apply a heat protectant spray or serum evenly throughout your hair to create a barrier against the heat and maintain the health of your locks.
Step 5: Blow Dry with a Round Brush
Using a round brush, blow dry your hair in sections to achieve a smooth and polished look. Ensure that your blow dryer has a concentrator nozzle to direct the airflow and reduce frizz. Aim the dryer down the hair shaft to seal the cuticle and enhance shine.
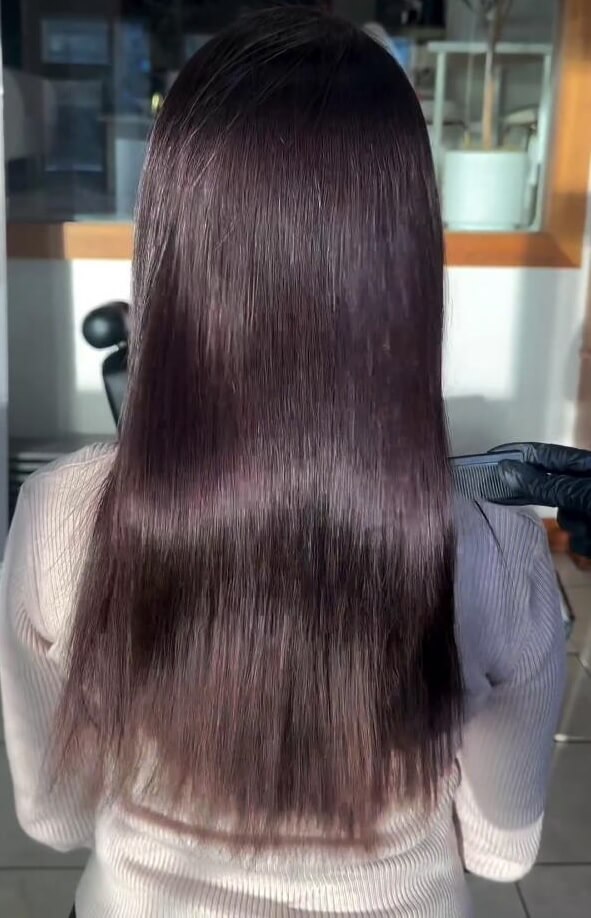
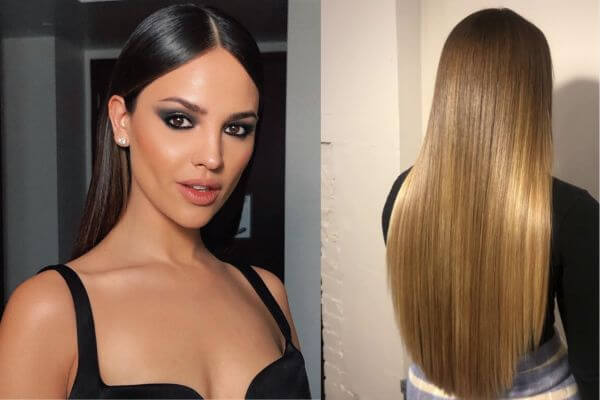
Photo: instagram.com/theglossroom__
Step 6: Straighten with a Flat Iron
Once your hair is completely dry, divide it into small sections and use a flat iron to straighten each section. Make sure to choose a flat iron with ceramic plates for even heat distribution. Run the flat iron through your hair slowly, maintaining a consistent pace to ensure each strand is straightened and smoothed.
Step 7: Add Shine with a Glossing Product
To enhance the glass-like shine of your hair, apply a glossing product or serum. Choose a lightweight formula to avoid weighing down your hair. Distribute the product evenly through your locks, focusing on the mid-lengths and ends.
Step 8: Final Touches
To finish off the glass hair look, consider adding a small amount of hair spray or anti-frizz serum to keep flyaways at bay. Use a fine-tooth comb to smooth out any remaining imperfections, and you’re ready to flaunt your stunning glass hair!

photo: instagram.com/hairbyruslan
How to Get Glass Hair
In this step-by-step tutorial with Chris Appleton, “the creator of glass hair” breaks down the style that’s stealing red carpets and Instagram feeds all over the world.
The glass hair trend refers to mirror-like, glass shine the hair takes on. The key to glass hair, as Chris Appleton explains, is Color Wow Dream Coat.
Dream Coat is the key to glass hair because it gives hair that mirror-like radiance but also because it’s super lightweight and repels humidity.
Conclusion
Achieving the perfect glass hair look is all about precision, care, and the right products. By following this step-by-step tutorial, you can transform your locks into a glossy and sleek masterpiece.
Whether you’re heading to a special event or simply want to elevate your everyday style, glass hair is a versatile and chic option for women of all ages. Embrace the trend and enjoy the confidence that comes with effortlessly glamorous hair.