Here I’m gonna teach you how to tie the most popular of all tie knots, the Double Windsor. Also I’m going to explain how to tie one of the classic tie knots, the Half Windsor.
About Double Windsor Tie Knot
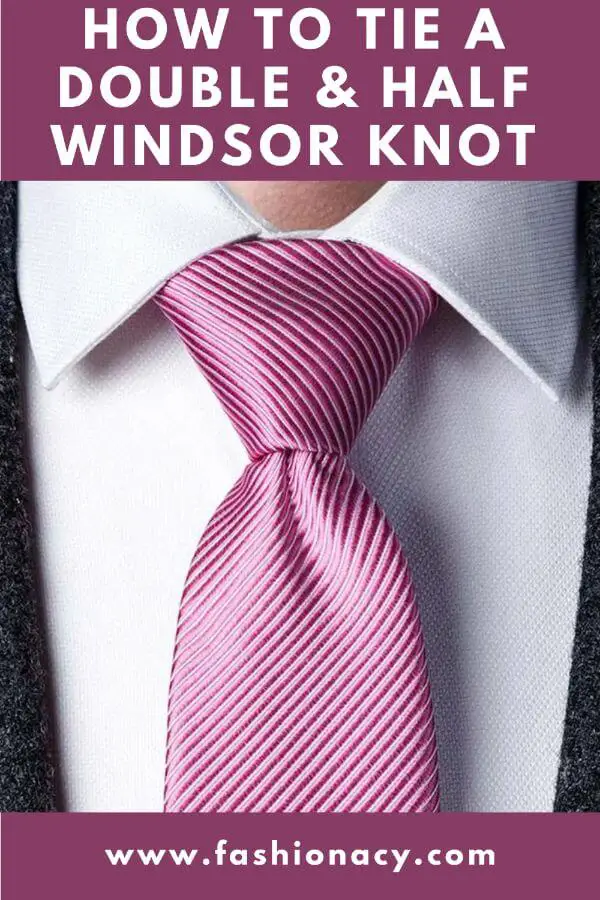
The Double Windsor, also known as the Full Windsor, is a larger, more triangular shaped, and more symmetrical knot than the normal tie knot, the 4-in-hand knot.
It’s rather large and has a strong presence. I like to think of it as a presidential knot.
These massive Double Windsor knots are frequently seen on dignitaries and presidents.
The Double Windsor, in my opinion, is more majestic, regal, and has more presence. “I’m here, and I’m a world leader,” it says.
Unfortunately, a Double Windsor isn’t always possible to pull off. Because it has something to do with the dimensions of your body. If you’re a huge guy with a big neck and a big head, it’ll look great.
On the other hand, if you’re a tiny man with a large Double Windsor knot, it might appear a little strange.
The width of your collar is another factor to consider. You’ve probably noticed that some collars are quite narrow.
Some collars can be spread collars, meaning they’re very widely apart.
In a much larger collar, the Double Windsor knot will look much nicer. Because it’s a more triangular, spread out knot.
However, once you’ve figured out the steps, it’s not that difficult to tie. And that’s what I’ll explain right now.
How to Tie a Double Windsor Knot
- The first thing you do is put the tie over your neck. With the decorated or outside side facing out.
- You need a lot of tie to tie this knot, because it really does loop around quite a bit.
- You’re gonna actually have the little end be pretty far up. Put it right about your chest level. You really do need a lot of fabric to tie this tie.
- Put the long end over the short end and just keep that pinched together.
- Take the long end and put it around back and over the top.
- Wrap that around the back, over to your right side.
- The underside of the tie should be facing out at this point.
- Next, you’re going to wrap that around the front. And loop it back over.
- That’s the part that’s a little different than a regular 4-in-hand tie knot that you might be used to.
- The final step is we’re going to wrap it around. Put your fingers underneath, so it’s a little easier to grab the tie when you put it out from the back and into the loop.
- Go up, go down through the loop.
- Tighten the bottom.
- If the tie is not triangular enough, you can tug on the edges.
- Tighten it up by pulling on the short one. Adjust it. Get a nice little dimple in there.
And there you have it, the Double Windsor.
About Half Windsor Tie Knot
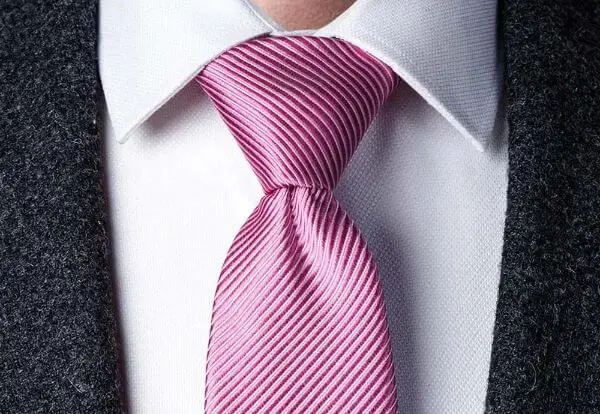
The Half Windsor, like its Full or Double Windsor brethren, is a more triangular, bigger, and symmetrical knot.
It’s just a tad smaller than the Full Windsor.
I still think it’s a great, majestic knot, and I actually prefer it to the Double Windsor in some ways because it’s so much easier to tie.
Because there are so many loops in the Full Windsor, it can take a few tries and a lot of monkeying around to get the length just perfect.
And, because the Half Windsor has less loop backs and loop overs, it’s a really practical knot in my opinion.
However, like the Double Windsor, you can’t always wear a Half Windsor because it’s a larger knot, albeit not as similar as the Full Windsor.
As a result, if you have smaller proportions, a smaller neck, or a smaller head, it may not appear as well.
Another item to think about is the width of your collar. The Half Windsor is definitely a touch too big for you if you have a very narrow collar.
However, because it is a larger knot, it will function better if you have a more spread collar, a wider collar.
Let’s see how we can accomplish this.
How to Tie a Half Windsor Knot
- The first thing you’re going to do is put the tie over your neck. With your collar popped up.
- Then you take the fat end and cross it over the small end. Pinch that together.
- Then you’re going to take the fat end and wrap it around the back. At this point the underside of the tie should be showing up outward.
- The next step is going to be the most different from tying a regular tie.
- You actually take it and put it around the front towards you and back over.
- At this point, pull the tie over to your left side and cinch it together.
- You can see you are creating a little triangle shape and that’s going to be the basis of the actual tie knot.
- From there, put it over the top and put your finger in there just to make it easier once you pull the loop through.
- Put it up through the back. And then put the fat end through the loop. Cinch that together.
- If you want, you can tug on the ends to make it more triangular.
- Pull on the skinny end, cinch it right up.
- Adjust it and try to make it a perfect little dimple.
That’s how you tie a Half Windsor knot!