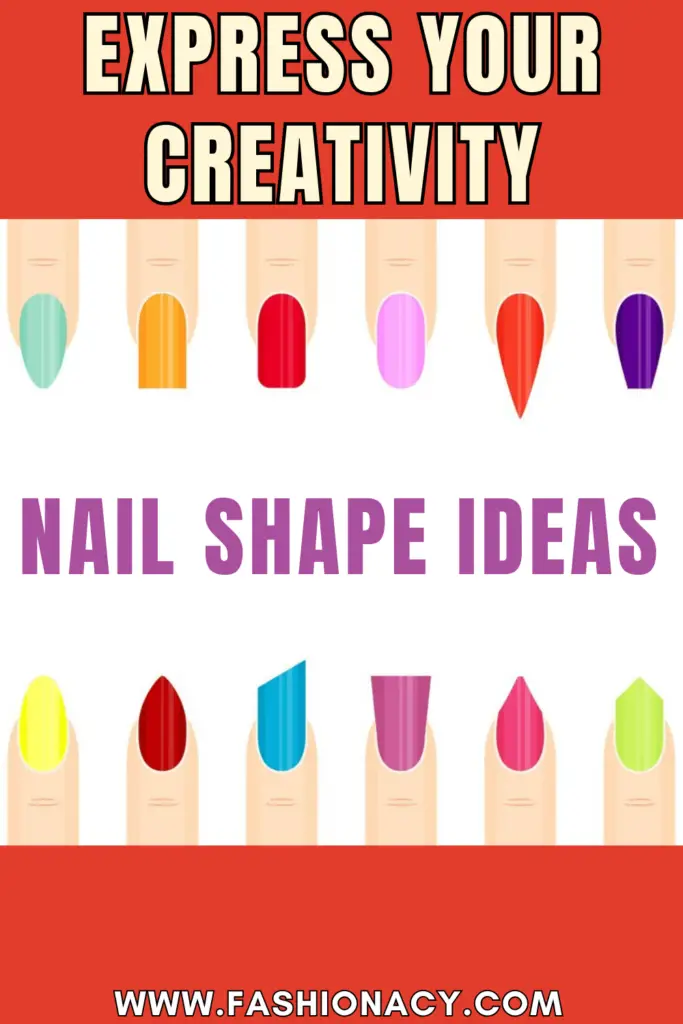
There are several popular nail shapes to choose from, each offering a unique look. Here’s how you can achieve different nail shapes:
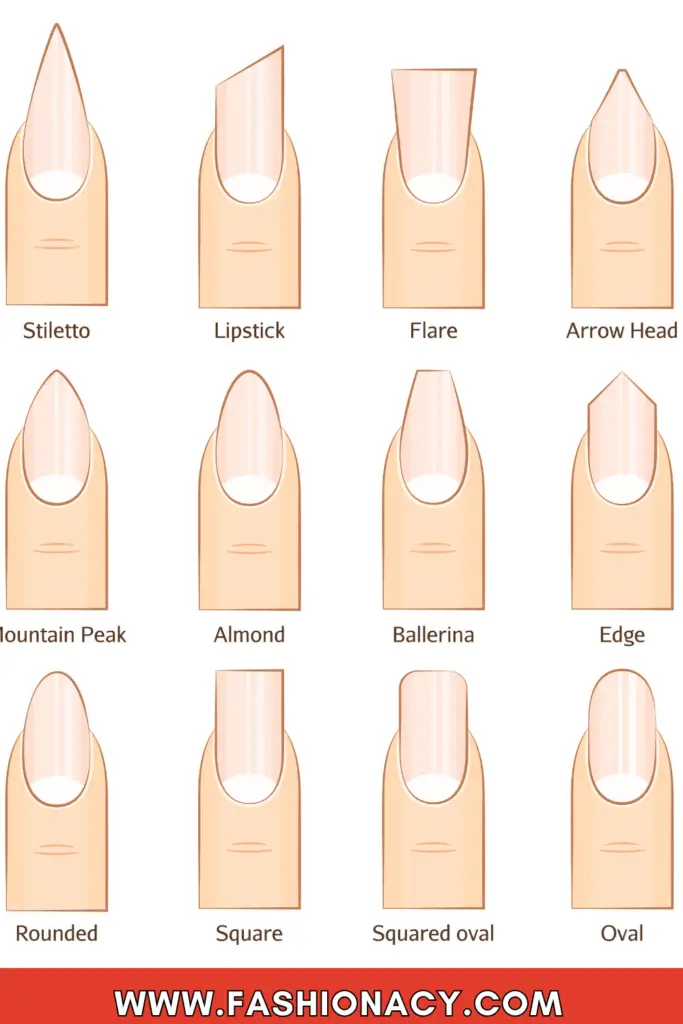
1. Square Nails:
- Start by trimming your nails straight across with a nail clipper.
- File the edges to create a square shape, ensuring the tips are perpendicular to the sides.
- Use a nail file to smooth out any rough edges, creating a clean square shape.
- This shape works well for short to medium-length nails and provides a classic, clean look.
2. Round Nails:
- Trim your nails straight across with a nail clipper.
- Gently file the corners of each nail to round them off.
- Follow the natural curve of your fingertips to create a soft, rounded shape.
- Round nails are ideal for those who prefer a natural and low-maintenance look.
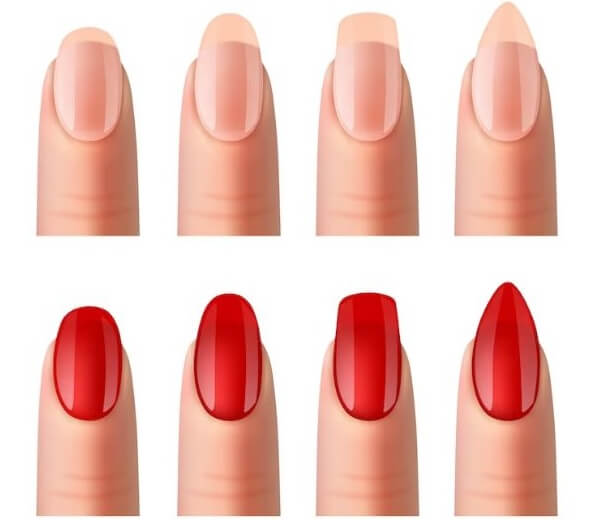
3. Oval Nails:
- Start with square-shaped nails.
- File the tips of your nails at an angle, creating a rounded tip while preserving the length.
- Ensure the sides are slightly tapered and smooth to achieve a graceful oval shape.
- Oval nails create an elegant and feminine appearance and work well for most nail lengths.
4. Almond Nails:
- Begin with oval-shaped nails.
- File the sides into a pointed tip, creating a slightly tapered, almond-like shape.
- The tip should be rounded and not too pointy for a more comfortable and stylish look.
- Almond nails elongate the fingers and offer a chic and sophisticated appearance.
5. Stiletto Nails:
- Start with almond-shaped nails.
- File the tips into a sharp point, creating a long, slender shape resembling a stiletto heel.
- The point should be narrow and slightly rounded to prevent breakage.
- Stiletto nails are dramatic and trendy, perfect for those who want to make a bold statement.
6. Coffin/Ballerina Nails:
- Begin with long, square-shaped nails.
- File the tips into a straight horizontal line, then taper the sides in a straight line toward the tip.
- The tip should be squared off, resembling a coffin or a ballerina slipper.
- Coffin nails offer a modern and edgy appearance, combining the elegance of almond nails with the boldness of square nails.
Remember to use a good quality nail file and work gently to avoid damaging your nails. Additionally, always shape your nails in the same direction to prevent weakening them. Experiment with different shapes to find the one that suits your style and personality best!
Creating unique and intricate nail shapes like lipstick, flare, arrowhead, mountain peak, and edge requires precision, patience, and the right tools. Here’s how you can achieve these distinctive nail shapes:
7. Lipstick Nails:
- Start with long, almond-shaped nails.
- File the sides of the nails inward, creating a concave shape that resembles the tapering of a lipstick bullet.
- Round off the tip slightly for a softer look, resembling the rounded end of a lipstick.
8. Flare Nails:
- Begin with long, square-shaped nails.
- File the sides at an angle, gradually flaring outward toward the tips.
- The widest point should be near the tip of the nail, creating a flared, fan-like shape.
- Flare nails offer a bold and dramatic appearance, widening toward the tips.
9. Arrowhead Nails:
- Start with long, almond-shaped nails.
- File the sides inward, tapering them to a point at the tip.
- The sides should be straight and meet at a sharp angle, resembling the shape of an arrowhead.
- Arrowhead nails are sharp and edgy, making a strong fashion statement.
10. Mountain Peak Nails:
- Begin with long, square-shaped nails.
- File the sides at a sharp angle, creating a pointed peak in the center of the nail.
- The peak should be well-defined, resembling the peak of a mountain.
- Mountain peak nails offer a bold and edgy appearance, adding a touch of drama to your manicure.
11. Edge Nails:
- Start with square-shaped nails.
- File the edges at a steep angle, creating sharp, edgy sides.
- Ensure the edges are straight and well-defined, resembling the shape of a blade or edge.
- Edge nails are bold and modern, adding a unique twist to your nail design.
When shaping these intricate nail styles, it’s crucial to use a high-quality nail file and work slowly and carefully to achieve the desired shape. You may also consider using nail guides or templates to help maintain symmetry and precision.
Additionally, finishing the nails with a clear top coat not only adds shine but also protects the edges and points of the nails, helping your manicure last longer.